In the early years of construction, I used wood, MDF, and even particle board for my builds, but since I always had to enclose the magnets on various sides in steel plate to concentrate the magnetic flux, this method grew tiresome, as I had to resort to riveting the steel plates together. Then I purchased these items, which I found were indispensable, in addition to an angle grinder and numerous locking pliers and clamps:
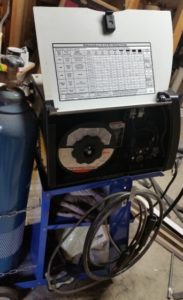
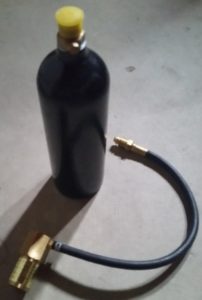
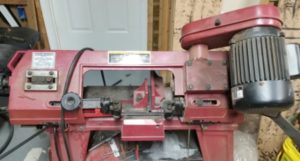
The first item is a Hobart Handler 180 MIG welder, which is a 230 volt, 180 amp wire-feed welder. Attached to it is a tank of argon/CO2 shielding gas. I also use the second item shown for its portability and reduced costs as a shielding gas, a 20 ounce tank of paintball CO2 with a fixed regulator, which comes as a kit. The third item is a must-have item–a metal-cutting band saw for making clean, repetitive cuts. This tool has proved to be an invaluable aid in time savings when cutting mild steel plate before welding.
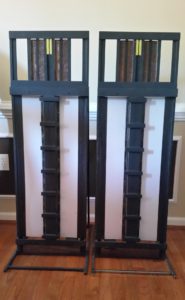
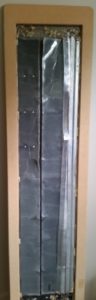
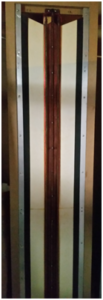
Below are some examples of early prototypes and the remains of prototypes with parts scavenged from them. These were some of my first loudspeakers, both 2-way designs, the first one with a perforated steel stator plate for affixing the magnets. It is a long line-source, about six-feet tall, as is the second shown of about the same length. However, this one was predominantly open in the rear, with the magnets sandwiched between steel plates on the front and rear; the long tweeter is flanked by woofers that share the same magnets.
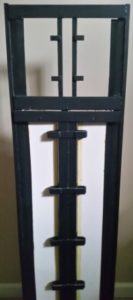
Although I found I liked their presentation for home theater use, I realized they were not my cup of tea for music, as they tended to exaggerate the size of some musical instruments that were not normally acoustically large, as well as the human voice. Using the features of the second line-source above, I arrived at the configuration shown below, which I used for a number of years. The top portion is what remains of the horizontal M-T-M of the loudspeaker which I demonstrated at a couple of DIY events. Notice the two white woofers at the bottom which are approximately thirty-two inches long and four-inches wide. The horizontal bars, located on the front and rear of the magnet housing, are damper bars which I tend to include on all my designs to date, so that I may test various diaphragm damping materials which may be affixed to them . In this particular loudspeaker, they were also included on the midranges, as the diaphragms were of the same material as the woofers, and also functioned in the same manner.
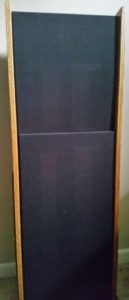
Here are a couple more examples of my loudspeakers. The first photo is of a loudspeaker I had shown at Midwest Audio Fest in 2010. Unfortunately, at the time of the photo, the innards were concealed due to grille cloth. The second photo is one I built preceding my final prototype. I have retrofitted the top M-T-M portion with my new midranges, just like my final prototype, the loudspeaker I have shown at AXPONA 2016.
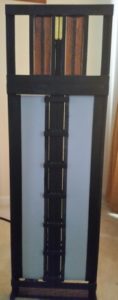
These are my final prototypes, the Parodies, the ones I listen to almost daily. The major difference between these and the last prototype is that the woofers’ ferrite magnets’ depth has been increased twofold, from one inch to two inches, thereby maximizing woofer excursion capabilities.